Easy DIY Party Supplies: Prehistoric Dinosaur Volcano Centerpieces
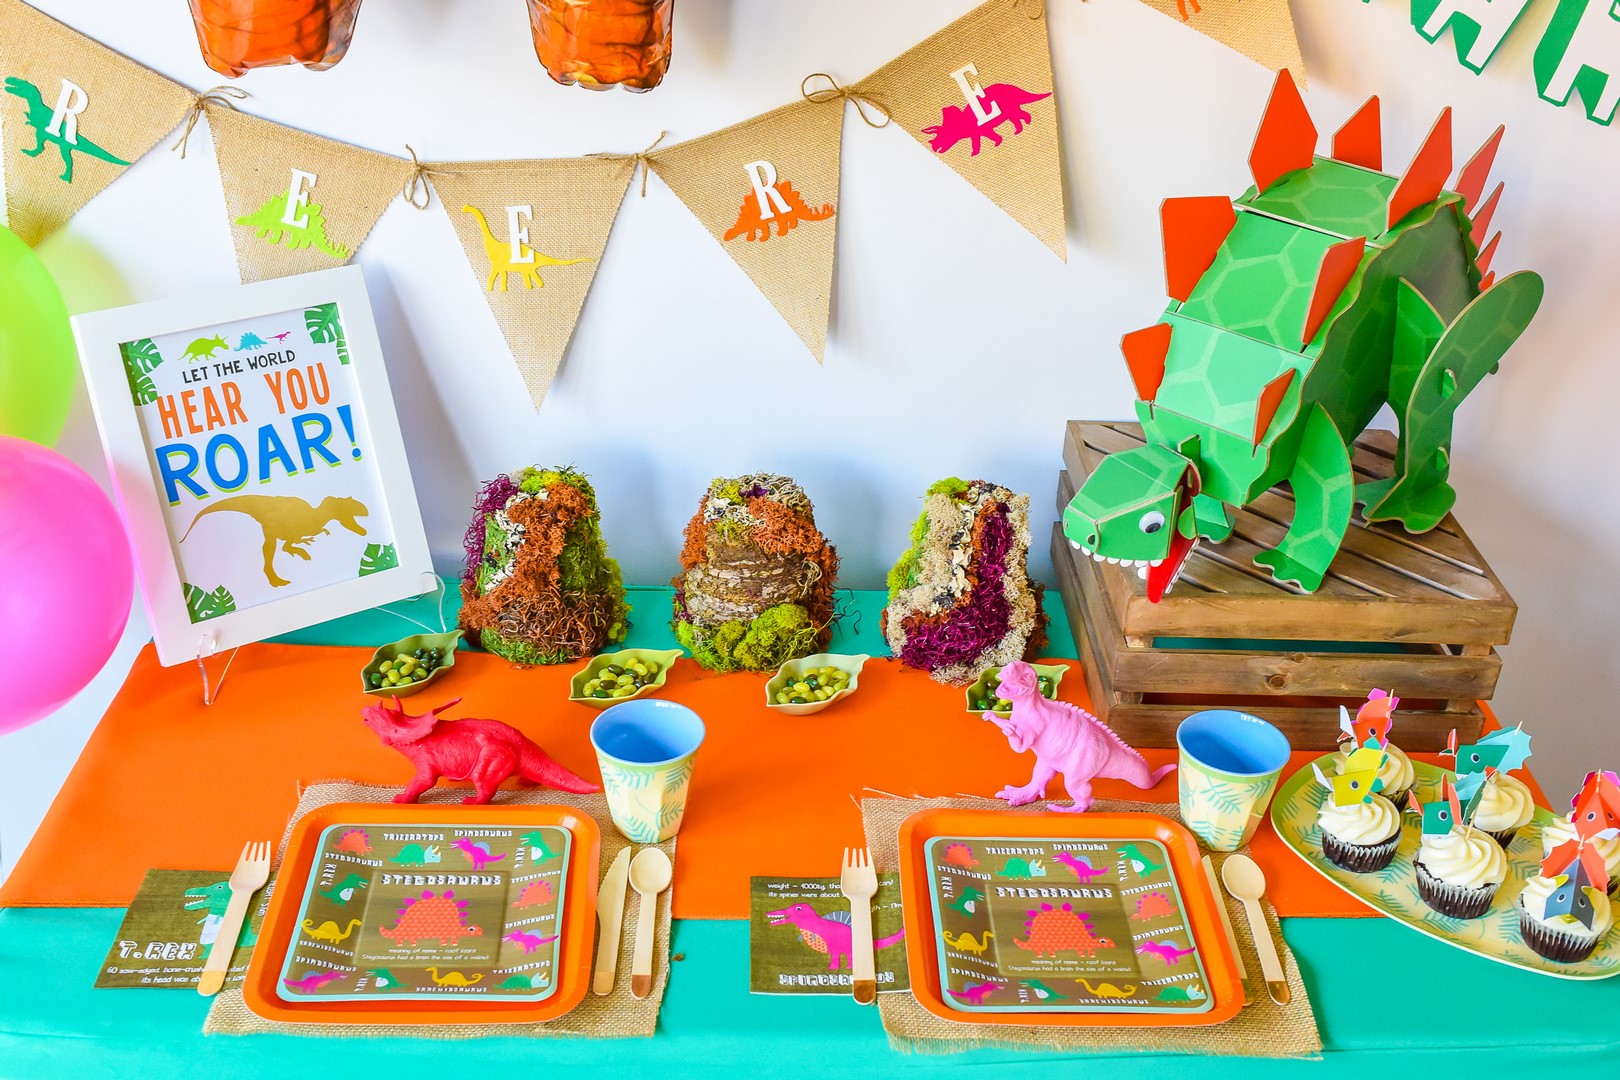
With just a common garden item and a few additional materials, transform your party tables to a prehistoric land and inspire your little guests to chat about what once roamed the earth.
Teach your little guests about the dino-days and host a dinosaur party with this classic party theme. Take it up a notch with color and unexpected details: from pink dinosaurs to colorful moss volcanoes and a roaring dinosaur, this party is sure to spread fun and joy.
If you’re a big fan of easy DIY projects this might be your favorite! It may even go down as the easiest DIY you will ever make and the result packs an awesome colorful and creative statement. With only 3 materials needed and just a few minutes of your time you’ll have centerpieces for all the kids party tables and your party planning will be that much closer to done.
From past craft project to new diy Inspiration
When my son turned 3 we celebrated his birthday with a dinosaur party. I was brainstorming ideas for centerpieces for the kid’s tables and knew I wanted the centerpieces to look like real active volcanoes! At the time I had a few terra cotta garden pots sitting on my desk from a past DIY craft project and a light bulb idea went off…
I could turn the pot upside down, create steam to escape out of the top and wrap the pot in some kind of material. Moss immediately came to mind, probably because garden supplies were on the brain from the flower pot idea! These days you can get moss in so many different colors and varieties, and I am all about making celebrations bright and colorful. And to create the steam, so it would look like the volcano was still hot, I thought of dry ice. I could put a small amount of dry ice in a mini mason jar under the pot and the steam would come through the hole in the pot, looking like a real volcano. I was so excited about this idea but after some more thought about the age group and being a bunch of toddlers I figured the dry ice would need to wait for another party with older guests — I didn’t want any of the kiddos lifting up a pot and touching the dry ice! So I moved on from the dry ice inside the centerpieces and headed out to the craft store for moss and my DIY idea was born!
making your very own dinosaur volcano out of a flower pot!
Materials:
Terra cotta flower pots
Glue gun + small piece of cardboard to catch glue run-off
Moss in lots of different varieties and colors
Instructions:
Set up your work table with all your materials and supplies before you start, get yourself comfortable, grab a cup of coffee or tea, turn on some music. Sometimes, I’m so excited to start a DIY project I rush this step and jump right in (which always makes the project take longer) so don’t skip this step (reminder to myself!). Setting up your materials and supplies helps make the creation process flow better so you’re not getting up every 5 minutes to look for something you need. Plus, it just feels more peaceful to have everything you need in front of you so you can really focus on the project.
1. Turn your glue gun on. Use a small piece of cardboard under your glue gun to catch excess glue that comes out of your glue gun when heating up. Each time you use the glue, place it back on top of the cardboard.
2. Flip your terra cotta pot upside down and place on a covered work surface. Moss can get really messy so use something for easy clean-up, like an old towel that you can shake off after the project is done.
3. Next, pull the moss out of the bags to see what you have to work with and start thinking of how you want to place the different varieties around the pot. Separate the moss into varieties and colors so it’s easier to choose which moss type you want as you are creating your pot design. Get creative and have fun with it! Create colorful swirls cascading down the pot or around the top. Once you have thought about your placement, start by adding glue and moss section-by-section on the pot. Work quickly as the glue dries fast, being mindful to not burn yourself. You can also have an old washcloth on-hand to push the moss down tight onto the glue to make sure it adheres well and you don’t get burned.
4. Work around the entire pot while adding the glue and moss in sections.
5. You’re done, that’s it! Repeat the steps for how many centerpieces you want.
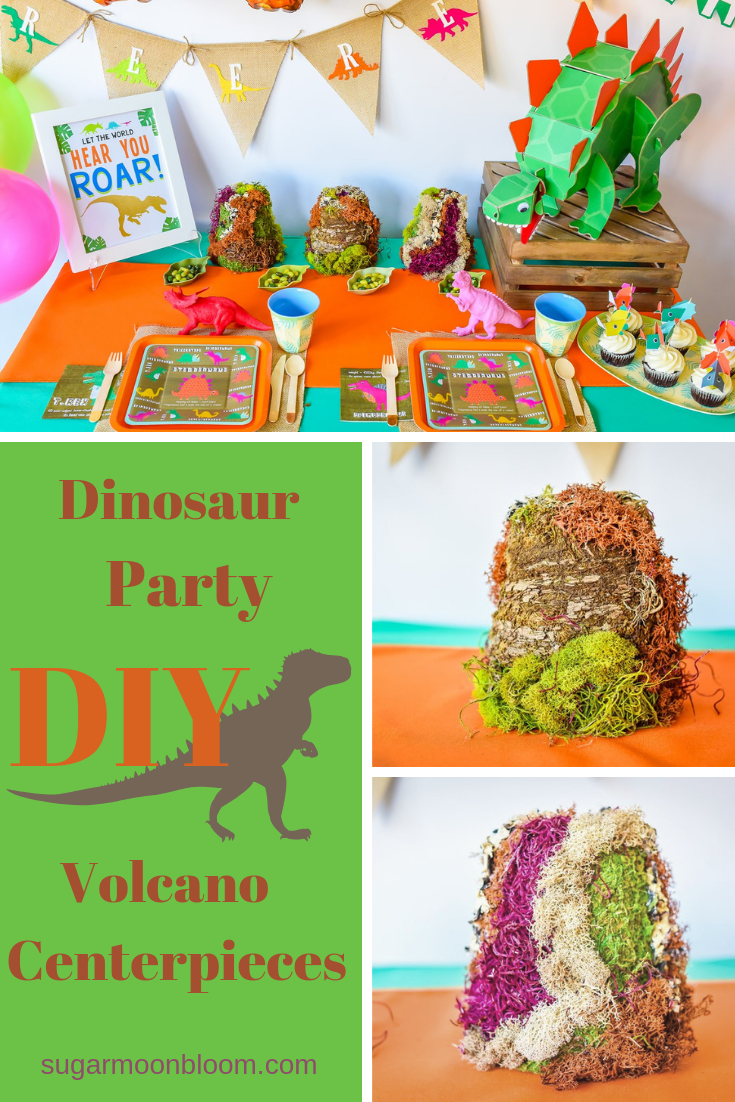
Check out all the different ways you can decorate the pots! Create swirls of moss cascading down the pot or try laying the moss flat up against the flower pot. Look at all the awesome textures and colors!
Mix in the unexpected
We all know volcanos are not this colorful and lush but they add a touch of playfulness and are a fun twist to the traditional dinosaur party theme. Don’t be afraid to veer off the traditional path because that’s usually where I find the best creative ideas. I think these funky volcanos fit right in with pink, aqua and red dinosaurs and add that unexpected pop of fun!
And that’s it! Your creative and colorful dinosaur party centerpieces are done! So simple, right?
Let me know what you think in the comments below. I would love to hear how your centerpieces turned out! Tag me on Instagram so I can see them and be part of the fun! You can find me on Instagram at @sugarmoonbloom.
stress free party planning!
I love sharing easy DIYs like this because we all need a little more time enjoying the party-planning process and less time stressing over party details. I am all about finding ways to create handmade decor that’s easy and fun because with our limited time it’s important that our creative efforts work out.
Celebrations should be a time of joy and happiness, not stress and overwhelm! Fun, simple and totally unique DIY party decor ideas will help you make your event both stylish and stress-free so you can get back to enjoying the party.
Want a little extra party-planning help? Check out my totally-done and fully-styled dinosaur birthday bundle all ready to go and waiting in the shop to ship! You’ll never be caught off guard by last-minute party planning again!
Happy celebrating!
Pin your favorite graphic to Pinterest and save it for a DIY day!


